

5 Steps to Restore Limestone Floors From Chips and Cracks
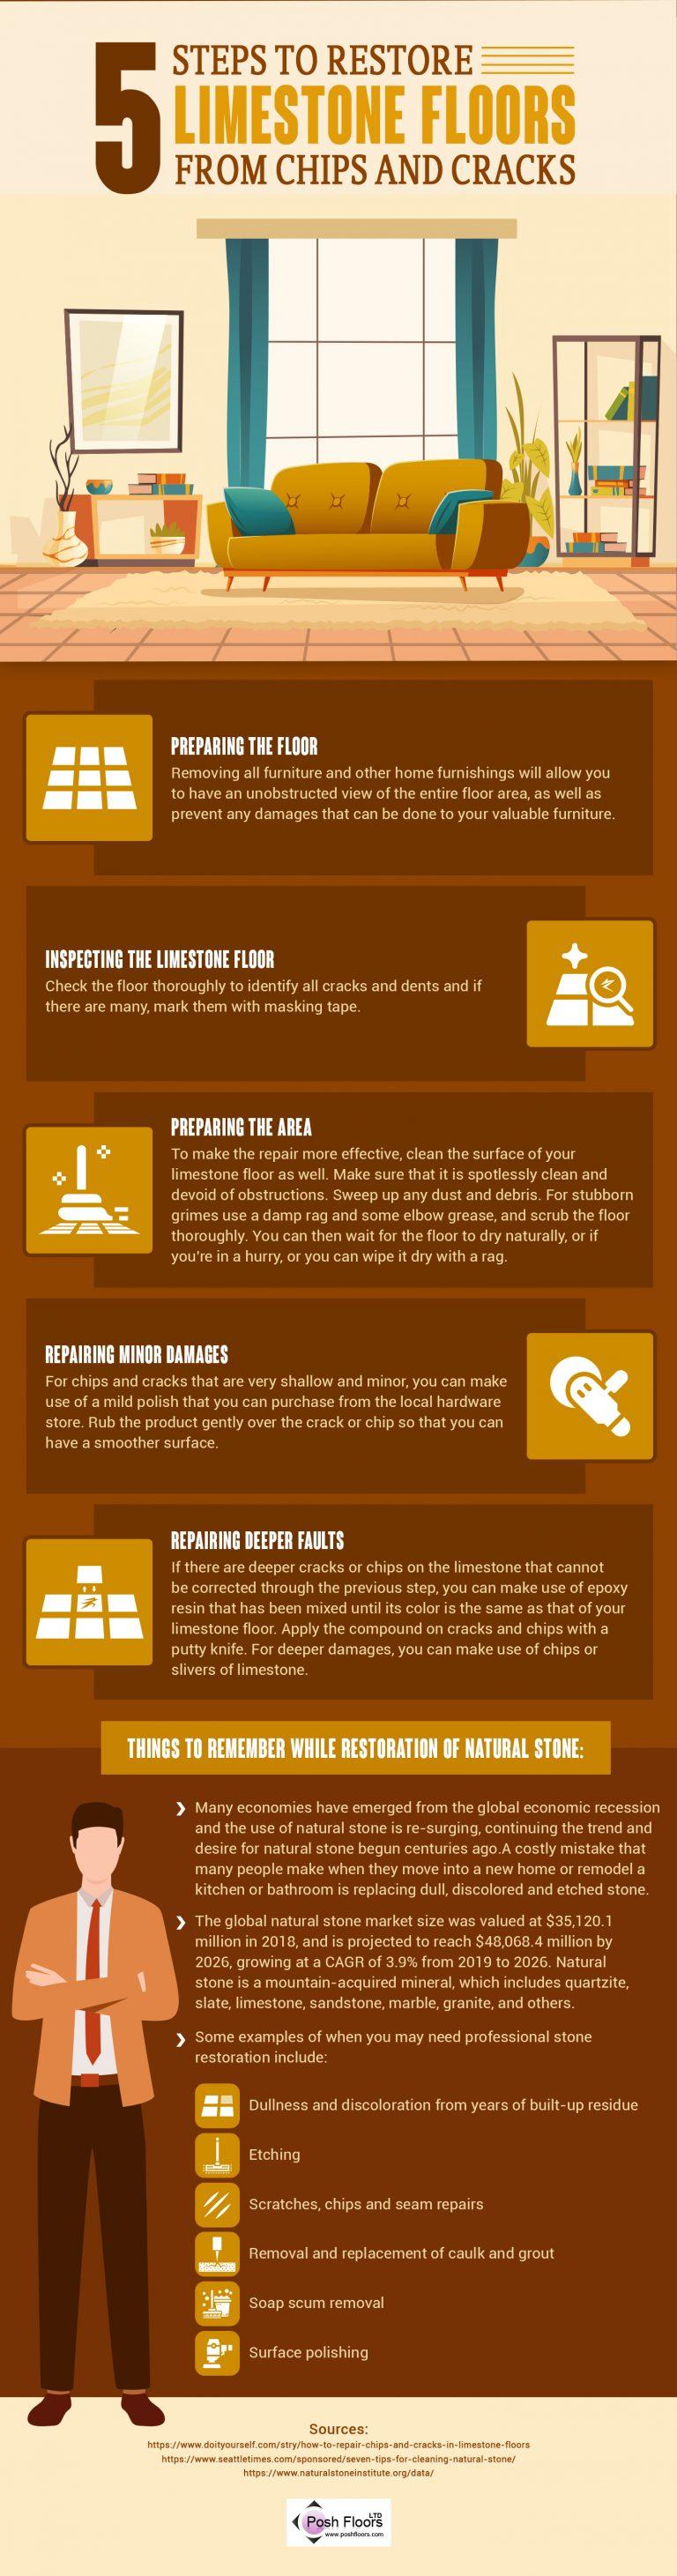
The infographic, “5 Steps to Restore Limestone Floors From Chips and Cracks,” explains a practical process for repairing damaged limestone flooring and preserving its natural appearance. It begins with preparing the floor by removing furniture and other objects, providing a clear working area and protecting furnishings from accidental damage. The next step is a careful inspection of the limestone surface to identify cracks, chips, dents, and other imperfections, marking problem areas when necessary.
After inspection, the damaged sections should be cleaned thoroughly so dust, dirt, and stubborn grime do not interfere with the repair. For minor chips and shallow cracks, the infographic recommends using an appropriate stone repair or polishing product to smooth the affected surface. Deeper cracks require a more substantial repair, such as a color-matched epoxy resin applied carefully with a putty knife; limestone chips or slivers may also be used for larger defects.
The infographic also emphasizes proper maintenance after restoration. Regular cleaning, stain removal, polishing, and timely repairs can help prevent deterioration and maintain the stone’s finish. Overall, it presents limestone restoration as a structured process combining preparation, inspection, cleaning, repair, and ongoing care to extend the floor’s useful life and keep it attractive for years.

 English
 Arabic
 French
 Spanish
 Portuguese
 Turkish
 Dutch
Dutch
 Italiano
 Russian
 Romaian
 Portuguese (Brazil)
 Greek
Greek